Moving a large fiberglass statue is not a simple loading job. Its hollow body may look strong, yet thin edges, painted surfaces, and internal supports can crack under uneven pressure. How to move and transport large fiberglass statues safely? The answer begins with careful assessment, not hurried lifting. Measure the statue, inspect weak points, and identify removable parts before choosing equipment or a vehicle.
This guide shares ten practical tips based on professional handling principles and real transport concerns. You will learn how to build a stable support frame, protect delicate finishes, distribute weight, and secure the statue against movement. Soft blankets, foam padding, lifting straps, and a properly sized crate can prevent costly damage. Keep it level.
Weather also matters. Heat can soften certain coatings, while rain may enter openings and damage internal materials. A trained crew should plan clear access routes, turning space, lifting points, and final placement conditions. Even experienced teams can miss a small risk, such as a low doorway or loose tie-down. That possibility deserves honest attention. Check every connection twice, document the statue’s condition, and adjust the plan when the site changes. Safe transport is slower than improvised moving, but it protects the artwork, workers, vehicle, and investment.
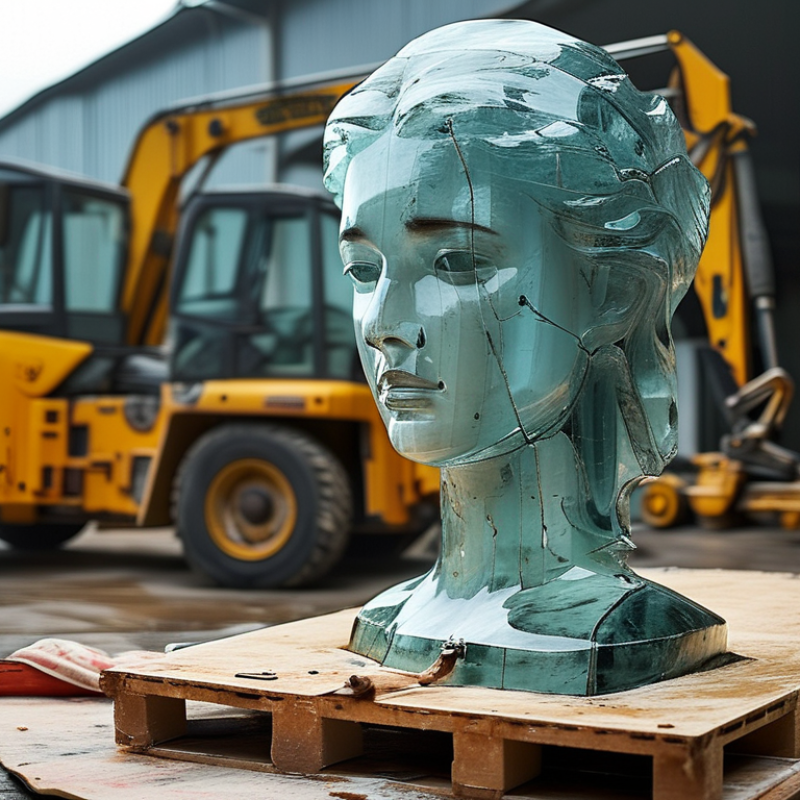
Before moving a large fiberglass statue, assess its structure, dimensions, weight, and vulnerable areas. Fiberglass may look solid while hiding thin walls, repairs, or internal supports. Tap different sections gently and check for hollow sounds, cracks, bubbling, and loose coatings. Inspect the base, ankles, wrists, neck, and any projecting ornament. These areas often receive stress during lifting.
Measure the statue at its widest, tallest, and deepest points. Record doorways, ramps, ceiling heights, and turning spaces along the planned route. Weigh it with reliable equipment, including the base and packing materials. Guesswork is risky. A statue’s center of gravity may sit away from its visual center, especially with raised arms or a heavy attached feature. Mark stable lifting zones, but never assume a decorative element can carry weight. Use padded slings around structurally strong sections, with soft barriers preventing abrasion. Keep pressure off sharp edges and painted surfaces.
Small details matter. Photograph existing damage before handling. It prevents arguments later. I have seen careful plans fail because a narrow doorway was measured without allowing for padding. That mistake is easy to repeat. If the internal frame is unknown, ask a qualified conservator or structural specialist to inspect it. A temporary support beneath the base may be safer than extra straps around the body. Recheck every measurement after wrapping, because protection changes the statue’s final size.
Large fiberglass statues need more than a thick outer box. Their surfaces can flex, crack, or scratch during handling. In practical packing work, I inspect the statue before choosing materials. I record fragile points, measure the widest sections, and photograph existing marks. This evidence helps separate transport damage from old wear.
Choose closed-cell foam, corrugated plastic sheets, and strong plywood panels. Soft blankets alone are not enough. They may compress and allow movement. Wrap the statue without pressing against thin edges or raised details. Add foam blocks around the base, neck, hands, and other projecting areas. Keep every support padded and adjustable. Hard contact can leave permanent dents.
Tip: Build a fitted support frame around the strongest structural areas.
The frame should hold the statue upright without touching delicate surfaces. Use wide straps with protective sleeves, not narrow cords. Secure the base first, then limit side-to-side motion. Leave a small clearance between the statue and the crate walls. Before closing the crate, shake the structure gently. Movement means something needs improvement. This simple test is often skipped.
Tip: Label the top, lifting points, and fragile zones clearly.
Use moisture-resistant inner layers when temperature changes are expected. Still, avoid sealing damp materials inside. Inspect the crate after loading and after arrival. I would not rely on one inspection, because vibration can loosen supports gradually. A support that seems perfect in the workshop may fail on uneven roads. Photograph the final packing, including strap positions and internal gaps.
| No. | Safety Area | Recommended Practice | Suggested Material or Specification | Key Measurement | Reason |
|---|---|---|---|---|---|
| 1 | Measure Before Packing | Record the statue’s maximum height, width, depth, weight, center of gravity, and removable parts before designing the package. | Verified tape measurements, platform scale, photographs, and a simple packing sketch. | Allow 75–100 mm clearance | Accurate dimensions prevent pressure points and ensure the crate can be safely handled. |
| 2 | Use a Rigid Outer Crate | Place the statue inside a rigid, liftable crate with a reinforced base and removable access panels. | Heat-treated plywood or timber frame; solid base runners or forklift pockets. | 100–150 mm base runners | A rigid enclosure limits impact, stacking, and handling damage during transport. |
| 3 | Protect the Surface | Wrap the finished surface with a clean, non-abrasive layer before adding cushioning. | Acid-free tissue or soft polyethylene foam; breathable protective cover. | 10–20 mm soft layer | Separates paint and gelcoat from rough packing materials and reduces scuffing. |
| 4 | Add Shock Absorption | Place cushioning around the statue without allowing the material to press directly on fragile projections. | Closed-cell polyethylene foam, EPE foam, or rubber isolation pads. | 50–100 mm cushioning | Cushioning helps reduce vibration and short-duration impact loads. |
| 5 | Build Custom Protective Supports | Support strong structural areas such as the base or internal frame, never thin fins, fingers, horns, or decorative edges. | Plywood cradle, shaped foam blocks, padded timber braces, and adjustable straps. | At least 3 support zones | Proper supports distribute loads and prevent bending or localized cracking. |
| 6 | Secure Removable Parts | Remove detachable components when possible, wrap them separately, and label their orientation and attachment points. | Separate padded cartons or fitted compartments inside the main crate. | 10–20 mm part clearance | Separate packing reduces contact damage and simplifies installation at the destination. |
| 7 | Prevent Internal Movement | Use padded braces and blocking to stop sliding, rocking, and rotation while leaving enough room for cushioning. | Foam blocks, padded cross-braces, edge protectors, and low-stretch tie-down straps. | Movement target: <25 mm | Limiting movement reduces repeated impacts and fatigue at joints or thin sections. |
| 8 | Control Moisture and Temperature | Keep the crate dry, avoid direct rain and prolonged sunlight, and use ventilation or moisture control for long-distance shipment. | Water-resistant cover, desiccant packs, humidity indicator, and ventilation openings. | Target RH: 40–60% | Moisture and heat can affect coatings, adhesives, fasteners, and enclosed packing materials. |
| 9 | Label Handling Requirements | Mark the crate with orientation arrows, center-of-gravity information, lifting points, weight, and “Fragile” handling instructions. | Water-resistant labels, handling symbols, lifting diagrams, and packing list pouch. | Labels on 2–4 sides | Clear markings help handlers position lifting equipment and avoid incorrect crate orientation. |
| 10 | Inspect and Document | Photograph the statue before closing the crate, inspect all restraints, and check the package after loading and delivery. | Condition report, numbered photographs, seal record, and delivery inspection checklist. | Inspect at 3 stages | Documentation provides traceability and helps identify handling damage quickly. |
Transport begins before the statue is lifted. Choose an enclosed or covered vehicle with enough payload capacity, floor space, and door clearance. Measure everything twice. A small error can stop the entire loading plan.
Sweep the floor and remove loose tools, gravel, and oil. Place a strong plywood sheet over weak flooring. Add a clean rubber mat to reduce vibration and sliding. Keep the statue upright when its base supports the main weight.
For wide or top-heavy pieces, use a custom cradle with padded contact points. Check the route for low bridges, sharp turns, and rough road sections. Drive slowly.
Use a trained crew and follow the statue’s strongest lifting points. Never pull thin arms, ornaments, or projecting details. Center the statue over the vehicle axle when possible. Set wheel chocks before loading. Secure the base with padded blocks, then use soft webbing straps around strong structural areas. Do not tighten straps against delicate surfaces. Add edge protectors where webbing touches the frame.
Leave no movement.
Inspect every strap before departure and at planned stops. Weather matters too. Extreme heat, rain, and sudden temperature changes can affect finishes and protective materials. It is easy to trust a setup that looks stable. That judgment deserves a second check. Even experienced crews can rush the final inspection, especially when the loading area is crowded. Take photos of the restraints and record any concerns before the vehicle moves.
Top 10 Tips to Transport Large Fiberglass Statues Safely
Large fiberglass statues need controlled handling from the workshop to the final site. I have seen small cracks appear after one careless contact with a loading gate. Inspect the statue closely for weak seams, thin extensions, and existing damage. Measure its height, width, weight, and center of gravity. Record photographs before moving it. Create a lifting plan with an experienced rigger, and confirm every team member understands the signals. Use padded slings at strong structural points, never around delicate fingers, wings, or decorative edges. Keep the statue upright when its shape allows it. Some forms may require a custom support frame.
Use a forklift, crane, or lifting frame rated well above the calculated load. Check the equipment before use. Secure loose parts separately. Cover the surface with breathable padding, avoiding pressure on painted details. Load the statue slowly onto a rigid, level platform. Add wide restraints with protective sleeves, but do not overtighten them. It must not shift.
Plan the route before departure. Check bridge clearances, narrow turns, steep grades, roadworks, and delivery access. Confirm the vehicle height after loading, not before. Drive gently and avoid sudden braking. A spotter should watch blind areas during loading and unloading. Weather matters too; strong wind can turn a tall statue into a sail. Stop if the support moves or the padding slips. Even experienced crews miss things when schedules become tight. That is worth remembering. Inspect the statue again after arrival, before removing its supports.
Use safe loading, lifting, and route-planning procedures
U.S. cargo-securement rules require cargo and securement devices to be checked within the first 50 miles and reexamined when the driver changes duty status, after 3 hours of driving, or after 150 miles, whichever occurs first. For fiberglass statues, combine these inspections with protective padding, distributed lifting support, weather protection, clearance checks, and a pre-approved route.
Reference: U.S. cargo-securement inspection requirements, 49 CFR 392.9.
Large fiberglass statues can look solid, but their shells may flex around joints, bases, and thin projections. Inspect the statue before loading, especially at seams, corners, fingers, and support points. Tap gently for unusual hollow sounds, and photograph every angle. Record existing scratches, cracks, loose fittings, and weak areas. This inspection creates a reliable condition report and prevents confusion later.
Tips: Use padded slings; never lift from decorative parts. Mark the balance point clearly. Protect protruding sections with foam. Keep fasteners in labeled bags. Secure the base separately when possible. Use moisture-resistant wrapping. Avoid tight straps across thin surfaces. Check the route for low clearance. Assign one person to direct lifting. Stop when the statue shifts unexpectedly. Do not rush.
At the destination, inspect the crate before opening it. Look for crushed corners, water marks, or shifted supports. Unload on level ground with trained handlers and suitable lifting equipment. Remove restraints gradually, not all at once. Compare the statue with the original photographs. Reassemble only on a stable, clean surface. Follow the maker’s assembly drawings when available, and use the correct hardware. Apply gentle, even pressure around joints. Never force a misaligned connection. A small gap may indicate hidden damage, not poor fitting. I once underestimated a narrow base opening; the extra repositioning caused avoidable handling stress. Measure twice, and leave enough working space around every section.
: Its surface can flex, crack, or scratch during handling. A thick box cannot stop internal movement. Protective supports must hold strong structural areas without touching fragile details.
Use closed-cell foam, corrugated plastic sheets, and strong plywood panels. Soft blankets alone may compress during transport. They can allow the statue to shift.
Add padded, adjustable supports around the base, neck, hands, and raised details. Do not press foam against thin edges. Hard contact can create permanent dents.
Build the frame around the statue’s strongest structural areas. Keep a small gap between the statue and crate walls. Use wide straps with protective sleeves.
Shake the packed structure gently before closing the crate. Movement means the supports need improvement. This simple test is often skipped.
Choose a covered vehicle with enough payload capacity and door clearance. Measure the statue and loading space twice. Remove gravel, tools, and oil from the floor.
Keep it upright when the base carries the main weight. Use padded blocks and soft webbing around strong structural areas. Never tighten straps against delicate surfaces.
Inspect every strap before departure and at planned stops. Photograph strap positions, internal gaps, and final restraints. A setup that looks stable may still loosen on rough roads.
Heat, rain, and sudden temperature changes can affect finishes and protective materials. Use moisture-resistant inner layers when needed. Do not seal damp materials inside.
Crews may rush the final inspection when the loading area is crowded. Thin arms and ornaments are unsafe lifting points. I would not trust one inspection alone.
Transporting a large fiberglass statue safely begins with a careful assessment of its structure, dimensions, weight, balance, and fragile areas, such as thin edges, protruding features, or delicate surface details. The statue should be wrapped with suitable non-abrasive materials and supported by a custom-built frame or padded braces that prevent movement without placing pressure on vulnerable sections. Before loading, confirm that the vehicle has enough capacity, a stable floor, proper tie-down points, and weather protection.
How to move and transport large fiberglass statues safely? Use suitable lifting equipment, trained personnel, and clear communication during every loading and unloading step. Plan a route that avoids low clearances, sharp turns, rough roads, and unnecessary delays. Secure the statue with cushioned restraints, checking that it cannot slide, tip, or vibrate excessively. At the destination, inspect the package and statue for possible damage, unload slowly, remove supports carefully, and reassemble any detachable parts according to the original structure.
